Below is a video guide showing you how to set up calendars for your buildings, rooms, spaces and more. If you decide it looks a bit tricky, use the step-by-step guide further down the page.
STEP-BY-STEP GUIDE
1: Add Buildings
1.1: Add buildings individually
Start by listing all the buildings in your company. Google Calendar uses buildings as the foundation for all your resources. Note you will need to have a Google Workspace account for businesses and not a personal account.
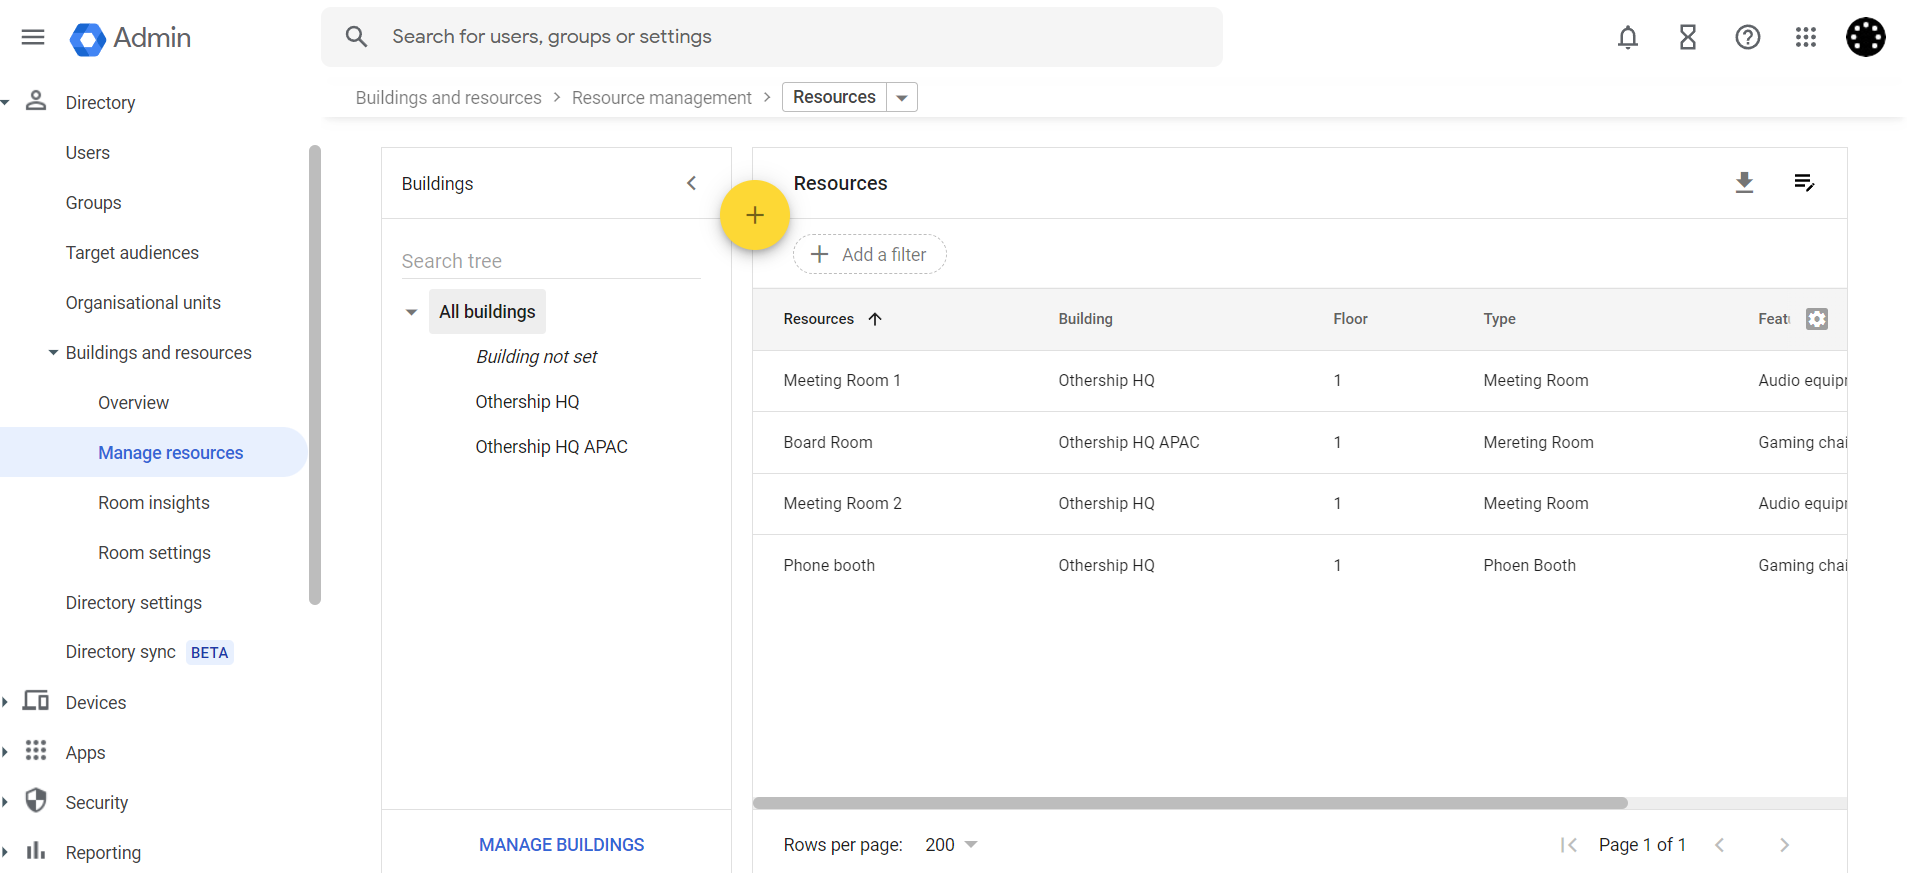
- In the Admin console, go to Menu
Directory
Buildings and resources.
- In the Resource Management section, click Open.
- At the bottom of the page, click Manage buildings.
- Point to and click Add
Add new building.
- Enter the building information.To add the address:
- Click Edit
Edit address.
- Enter the address information for each location using the official postal address format for its region. The Google map panel on the right shows a pin at the address. Addresses associated with a known business location will be stored using the local language. Note: Building addresses are not used for map navigation.
- If needed, drag the pin to the best or correct location. We recommend that you place the pin at the center of the building’s rooftop. The latitude and longitude fields appear.
- Click Done.
- Click Add Building.
 Google Workspace Adding Buildings to your Calendar
1.2: Or to add buildings in bulk:
You can create up to 10,000 buildings for your company or in each domain. To save time, upload all or multiple buildings in your domain.
-
In the Admin console, go to Menu
-
In the Resource management section, click Open.
-
At the bottom of the page, click Manage buildings.
- Point to Add
Bulk upload buildings.
- Click Attach CSV and follow the steps to attach the CSV file.
- Click Upload.
To view the required fields and description click here: Format for bulk updates.
 Google Workspace Adding Calendar Features and Amenities
2: Add audio, video, or other features
If you want people to know what equipment or other features come with a room or other resource, add them using the Admin console. For example, you might want to let people know which rooms have a Jamboard, or which company cars have a navigation system.
Note: To add features, use the Admin console to do this one by one or contact us for help doing this via API. You can’t add features by uploading feature details in a CSV file.
2.1: Add features one by one in Admin console
You can create up to 100 features for your company or in each domain.
-
In the Admin console, go to Menu
- In the Resource Management section, click Open.
- Click Manage
Manage resource features.
- Click Add Feature.
- Enter the feature name and choose the type:
- Other: Not videoconferencing or telephony (for example, Whiteboard, Wheelchair accessible, or External guests)
- Videoconferencing: Video communication equipment (for example, VC or Cisco conferencing unit)
- Telephony: Audio communication equipment (for example, phone)
- Click Save.
After you add a feature, you can add it to a resource by clicking on the resourceFeatures. Users can search for and add features to the selected resource.
 Google Workspace Adding Calendar Resources
3: Add resources
Next, add anything people can reserve: conference rooms, company cars, mother’s rooms, or whatever your company provides for workers. If you created features in step 2, you can associate them with the resources as you add them.
Note: Resources are typically available within a few minutes of being added. In some cases, however, it might take up to 24 hours for them to become available in everyone’s calendar.
3.1: Add resources one by one in the Admin console (see how to bulk upload in 3.2)
You can add up to 10,000 resources for your company or in each domain.
- In the Admin console, go to Menu
- In the Resource management section, click Open.
- Point to and click Add
- Enter the resource information. Select one of these types:
- Conference room: Resources used for meetings or conferences that can be as small as a phone room.
- Other: Resources that aren’t used for meetings. For example, a bicycle or company car.
- Click Add Resources.
For details on the fields, see below: Format for bulk updates.
3.2: Or to upload resources via CSV in bulk (don't do this if you did 3.1)
- Download to a CSV from the admin console.
-
In the Admin console, go to Menu
- In the Resource management section, click Open.
- Click Download
.
- Save the CSV file.
-
- Import CSV information into a spreadsheet.
- Open a blank Google Sheet and go to File > Import.
- Navigate to the downloaded CSV file, and click Select.
- In the Import window, make your selections and click Import data.
- Edit resources in a spreadsheet.
- Use the spreadsheet you create in the previous steps above.
- Edit the fields as needed. Update the fields according to the tables in Format for bulk updates. Don’t modify the resource ID. If you do, a brand new resource will be created instead of updating the existing one.
- When editing is complete, save the spreadsheet as a CSV file.
- Upload a CSV after editing.
-
In the Admin console, go to Menu
- In the Resource management section, click Open.
- Point to Add
- Click Attach CSV and follow the prompts to attach the CSV file.
- Click Upload.
For detailed instructions on integrating your meeting rooms with your floor plan, please refer to this guide.
-